Our Woodworking courses are a great start to gaining basic competency with the major power tools. See course outlines below.
General
The Urban Woodworker approach is to coach you into being mindfully aware of what it is you are doing and expecting to receive and to develop lasting methodical habits that prepare you mentally and physically to efficiently work and deliver desired results. Power Tools are inherently dangerous however with our approach you will be taught to develop good habits and mindful preparation to assess risk and consciously plan and manage the risk.
Power Tool Courses
Woodworking BASICS – Our most popular
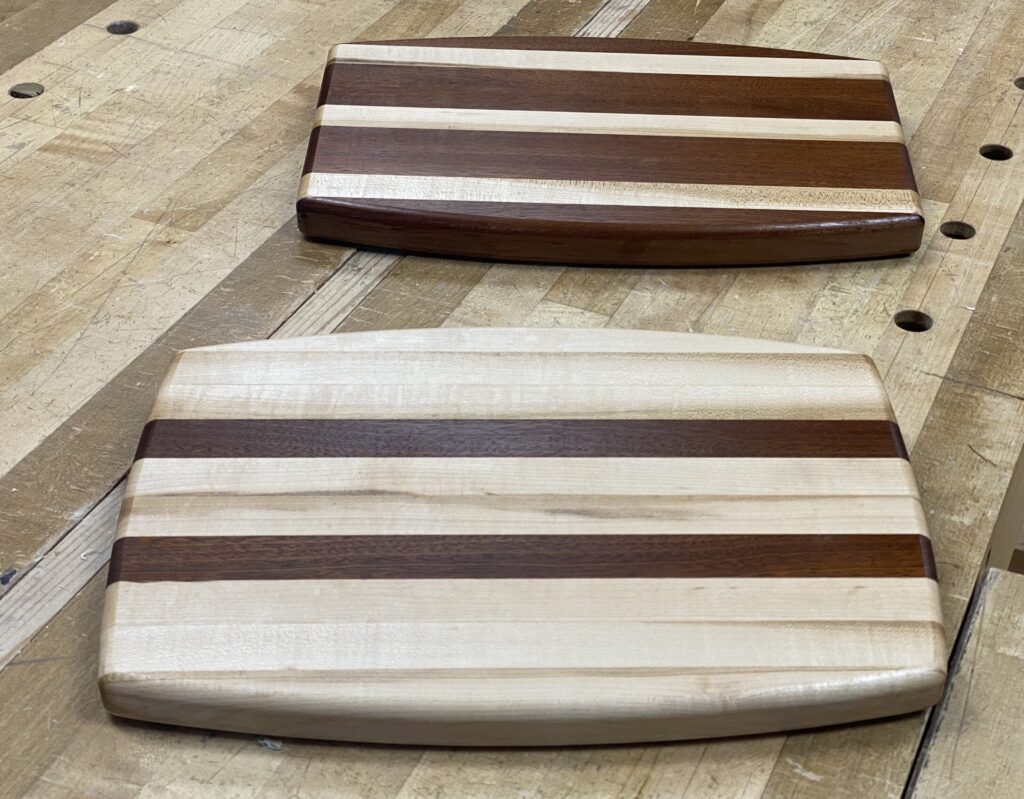
FIRST SESSION IS MANDATORY. For beginners who are interested in checking out woodworking or a refresh and review of core concepts. Basics covers wood theory, designing for movement, safe use of the jointer, planer and table saw with exposure to other machines as required. Premium hardwood is supplied to construct a beautiful edge grain (quarter or rift sawn) cutting board assembled with water proof food safe glue and finish. Come prepared to take notes and we appreciate your help in cleaning clean up before the end of each session. Review the refund policy for each location. NO refunds are issued once classes commence.
Course duration is four 3 hour sessions. Woodworking Basics does not satisfy the eligibility requirements to access Studio Time / Drop-ins.
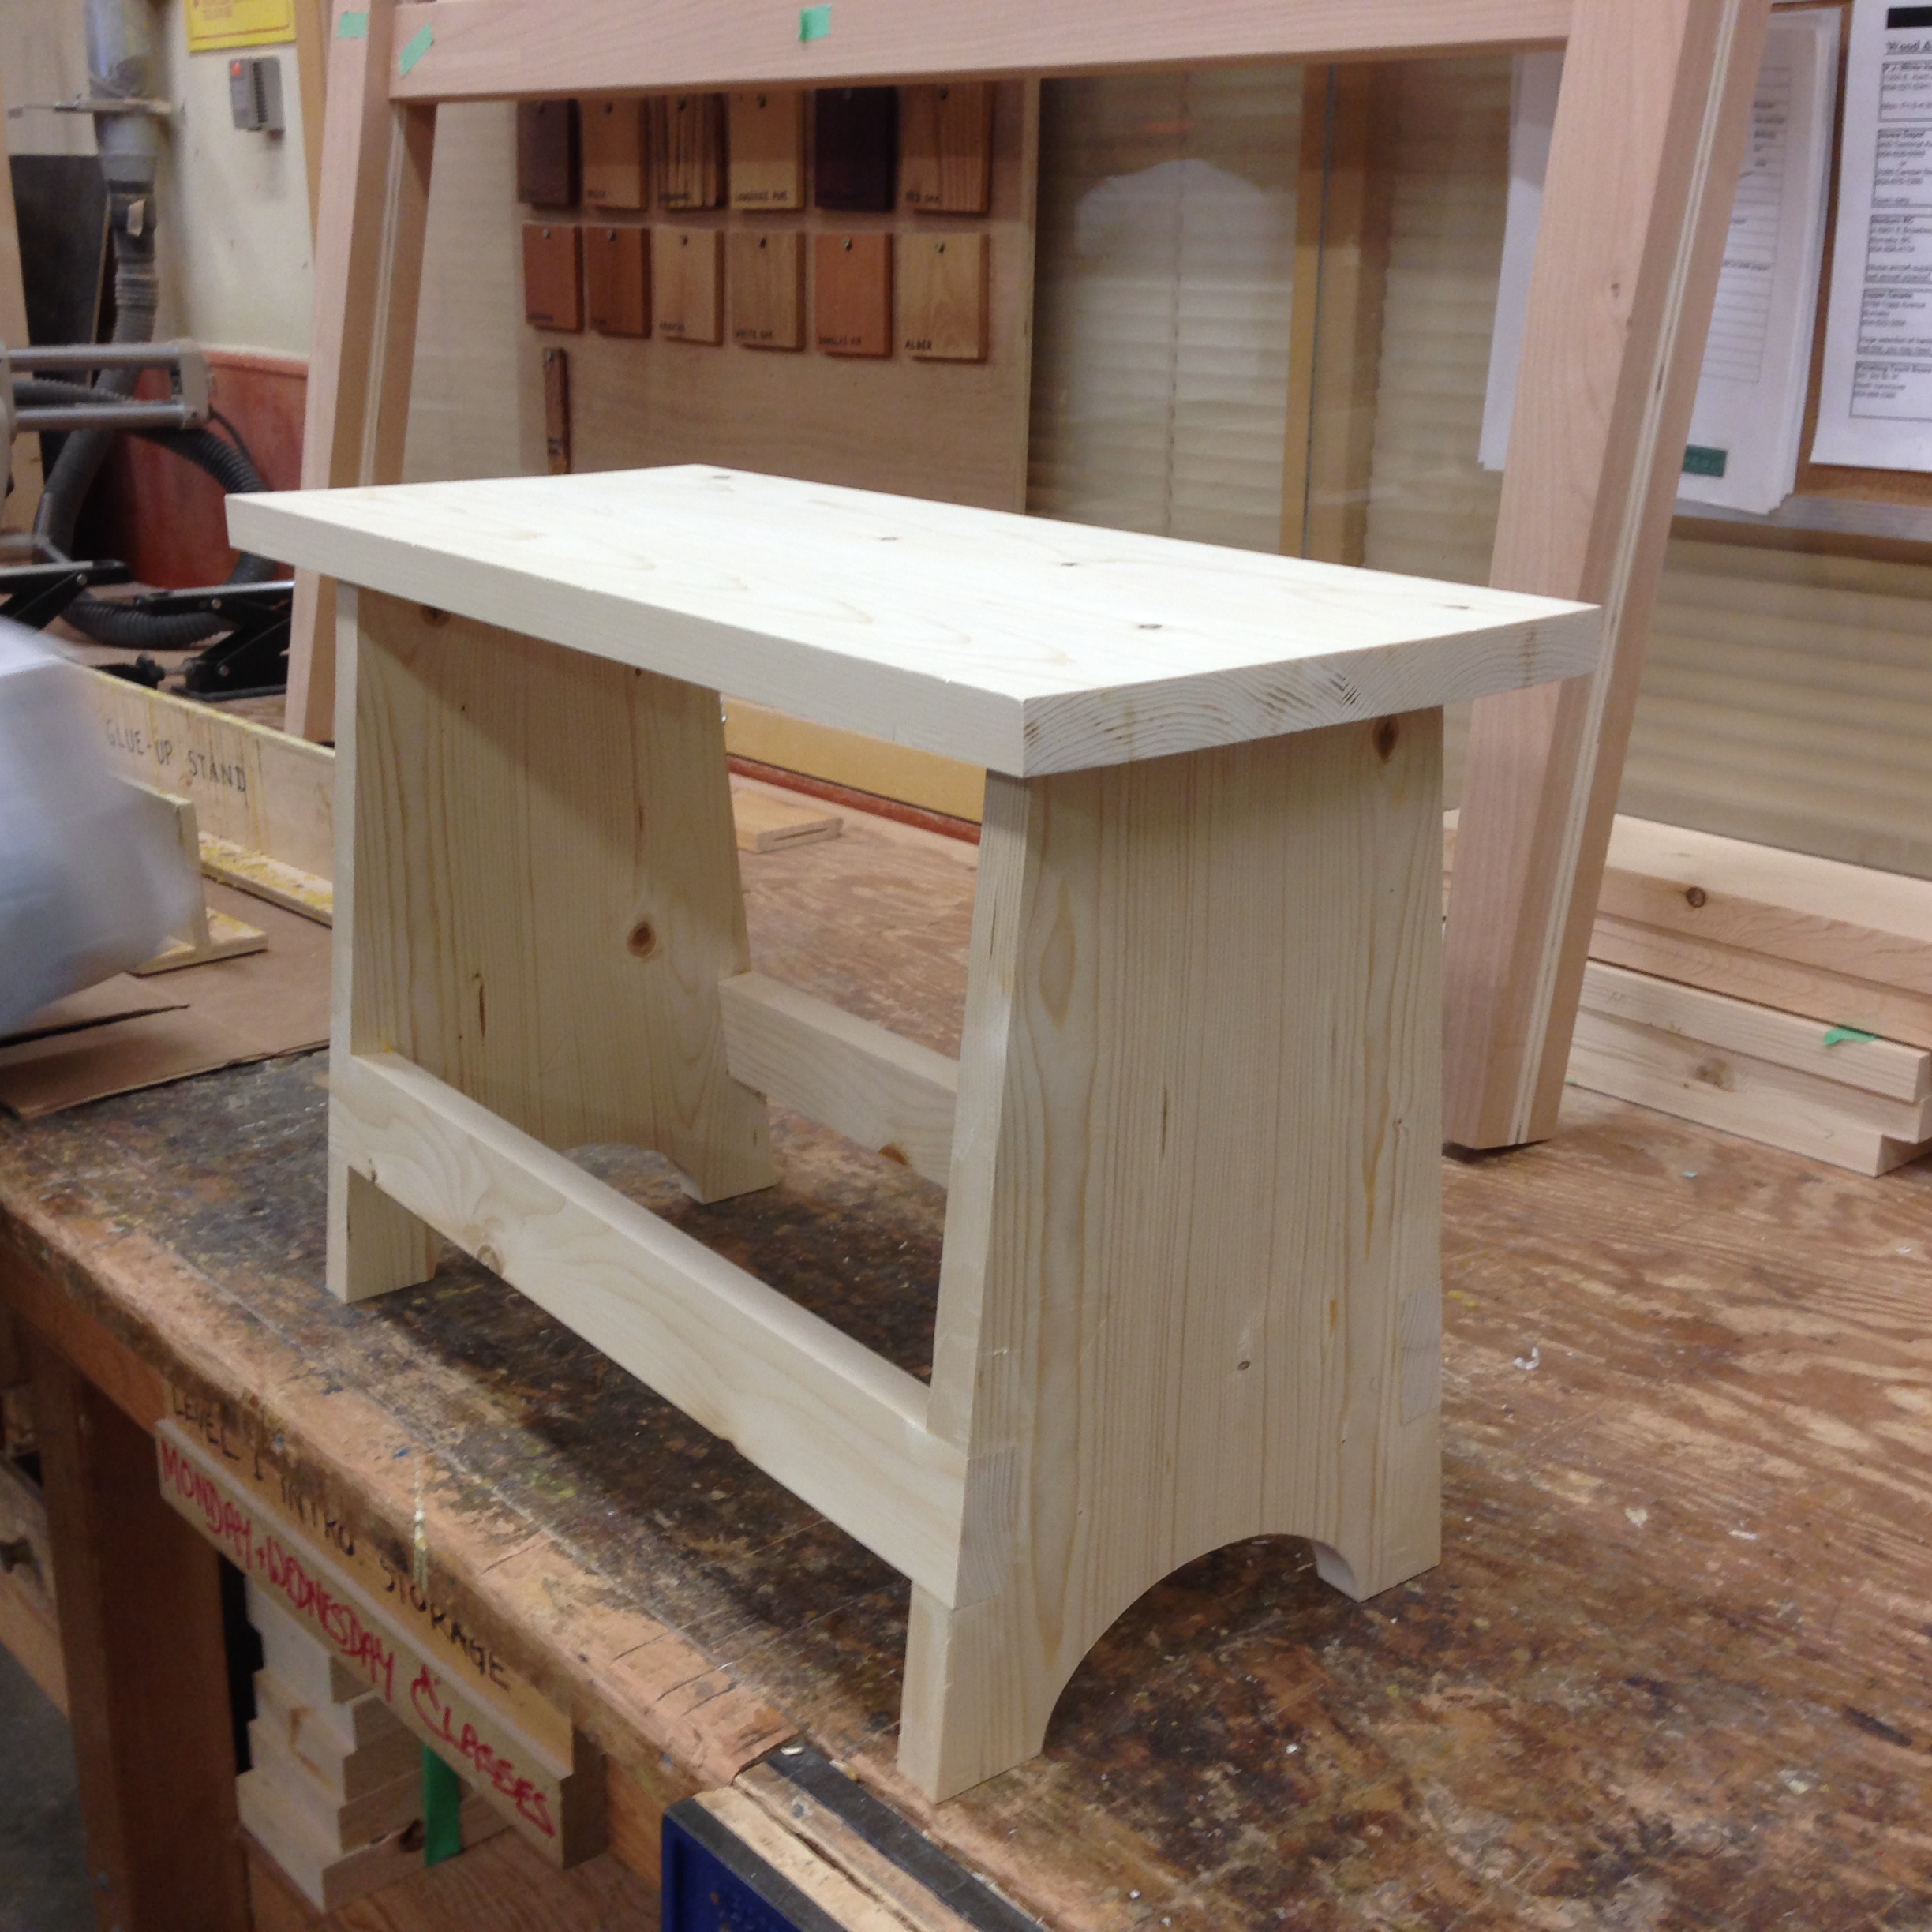
Woodworking Level 1
FIRST SESSION IS MANDATORY. For beginners and those with little woodworking experience. Design and materials included. Note: You will acquire basic woodworking skills directed to furniture making / joinery and learn elementary safe operation of major power tools such as the jointer, planer and table saw and other power tools based on design requirements. Come prepared to take notes and we appreciate your help in cleaning clean up before the end of each session. Refunds must be requested 72 hours in advance of the start date since no refunds are issued once classes commence. Level 1 satisfies the eligibility requirements to access Studio Time / Drop-ins.
Course duration is seven 3 hour sessions.
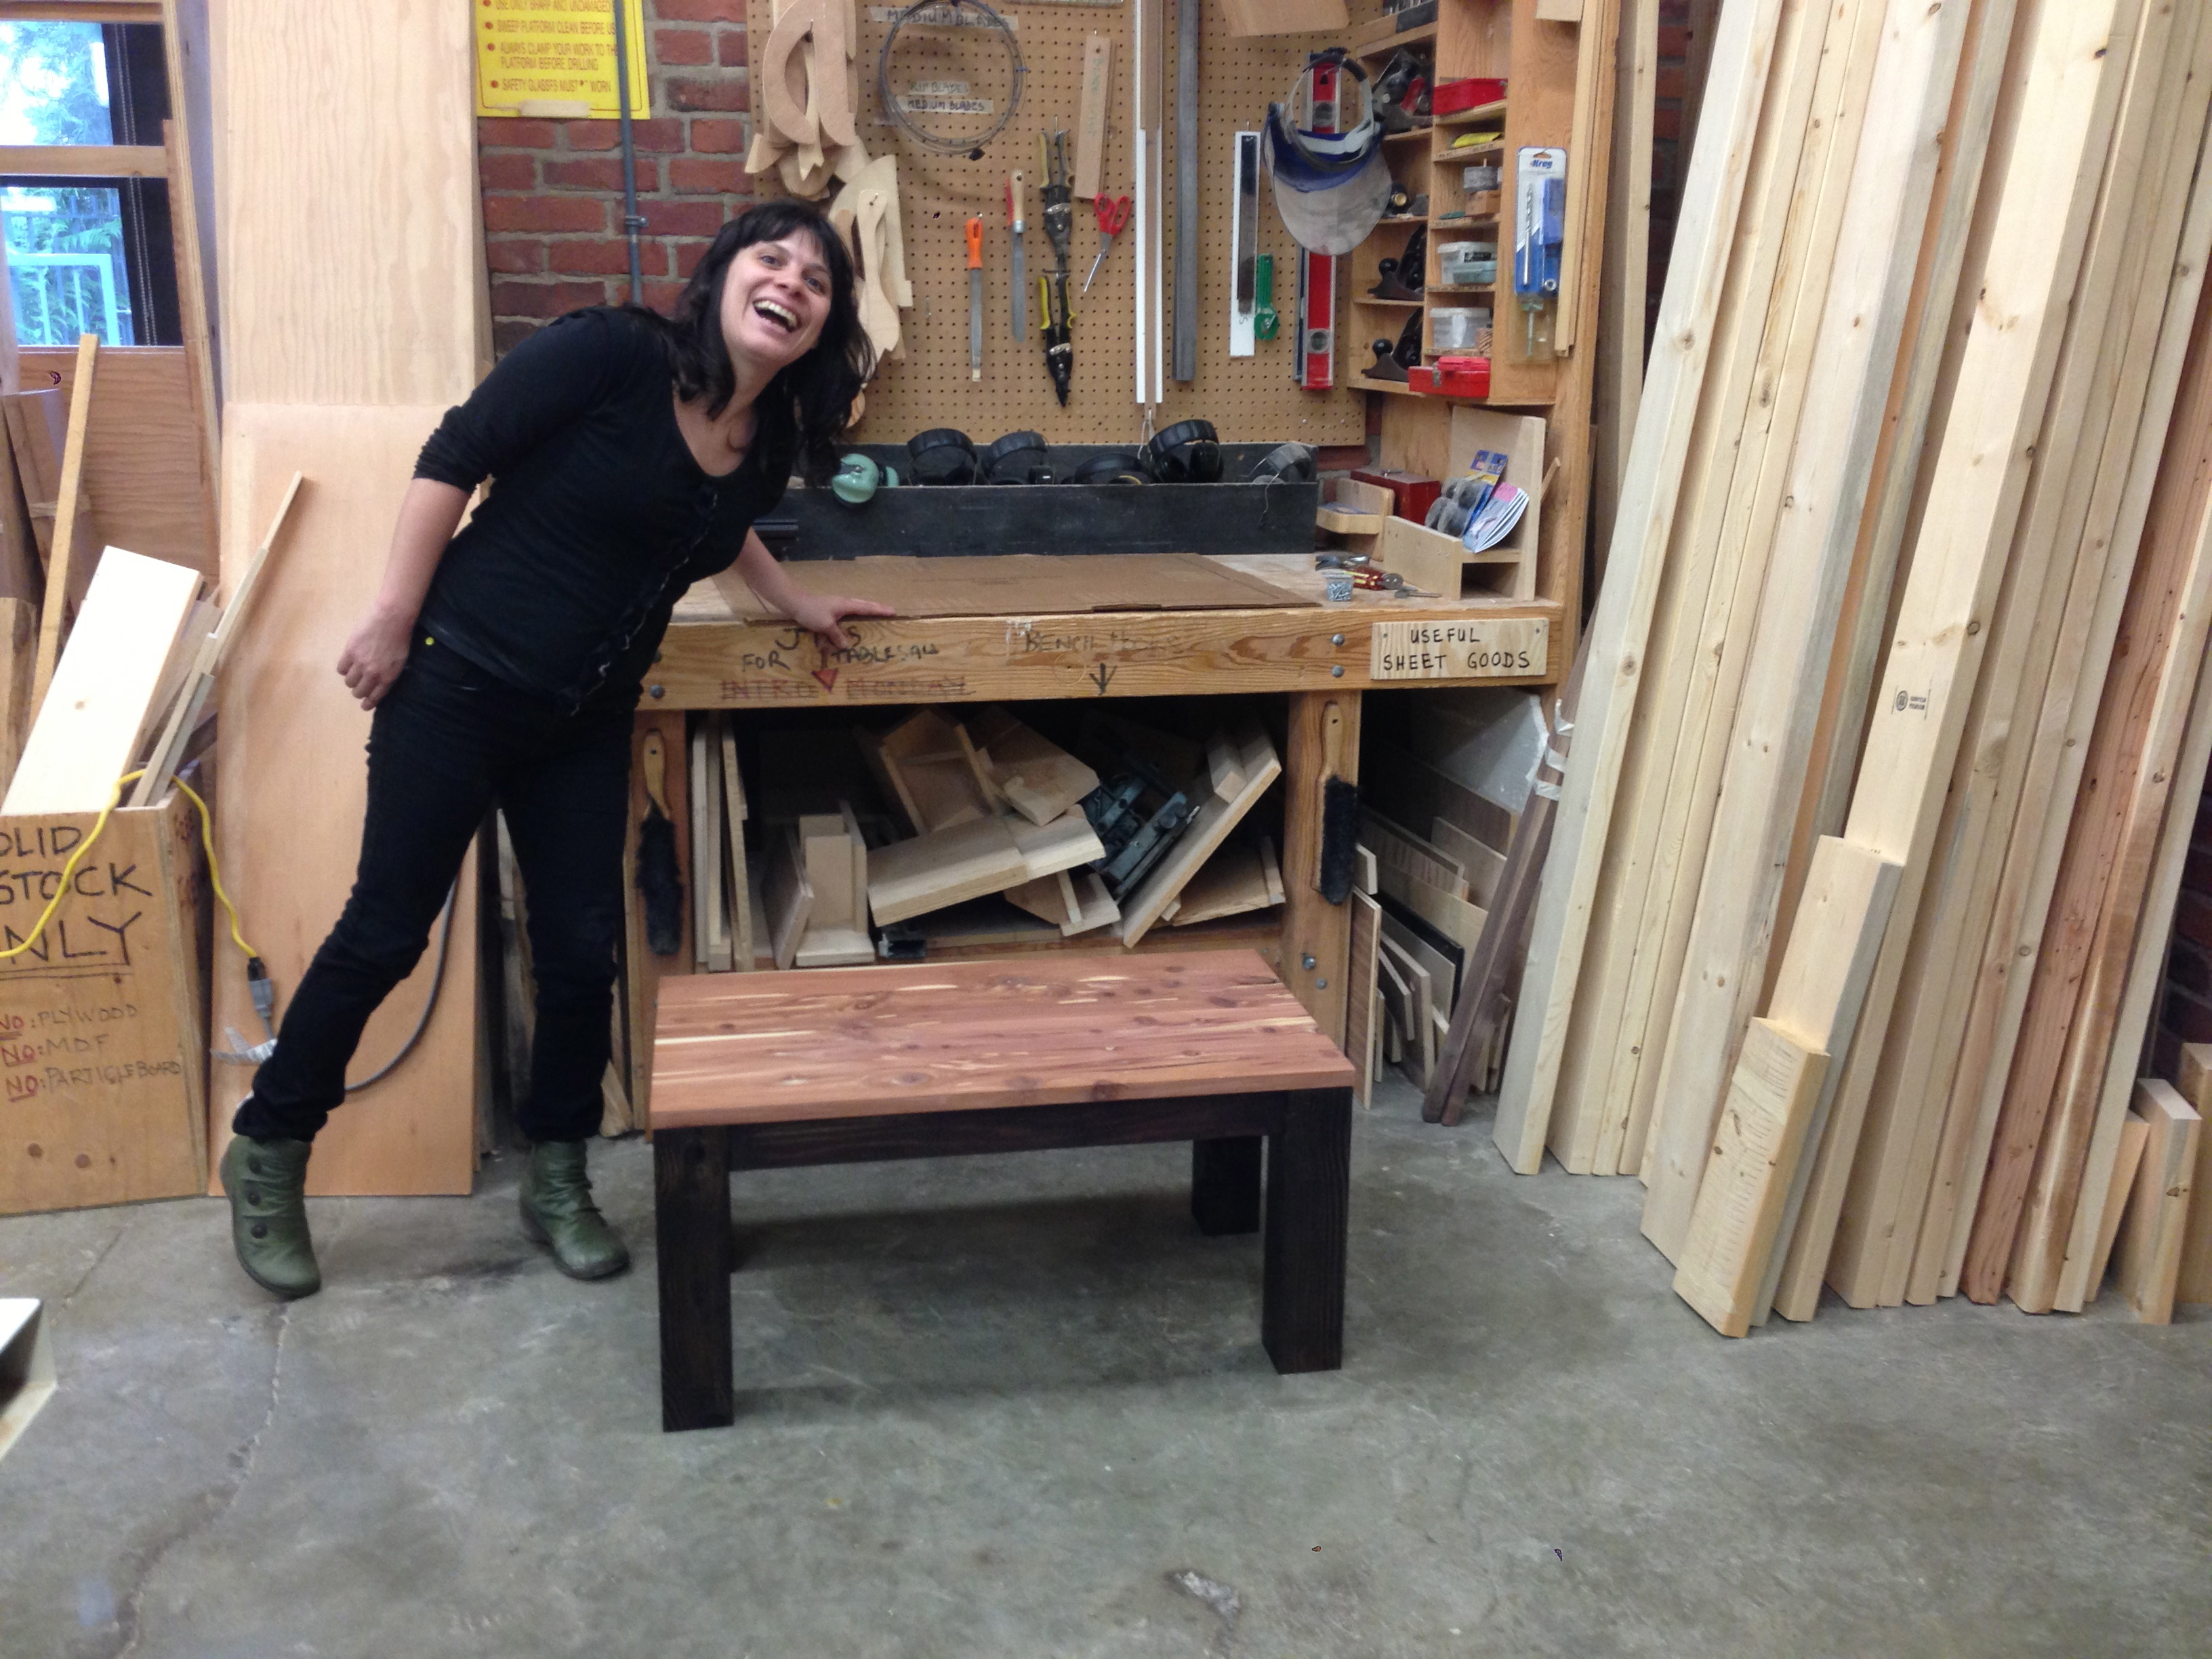
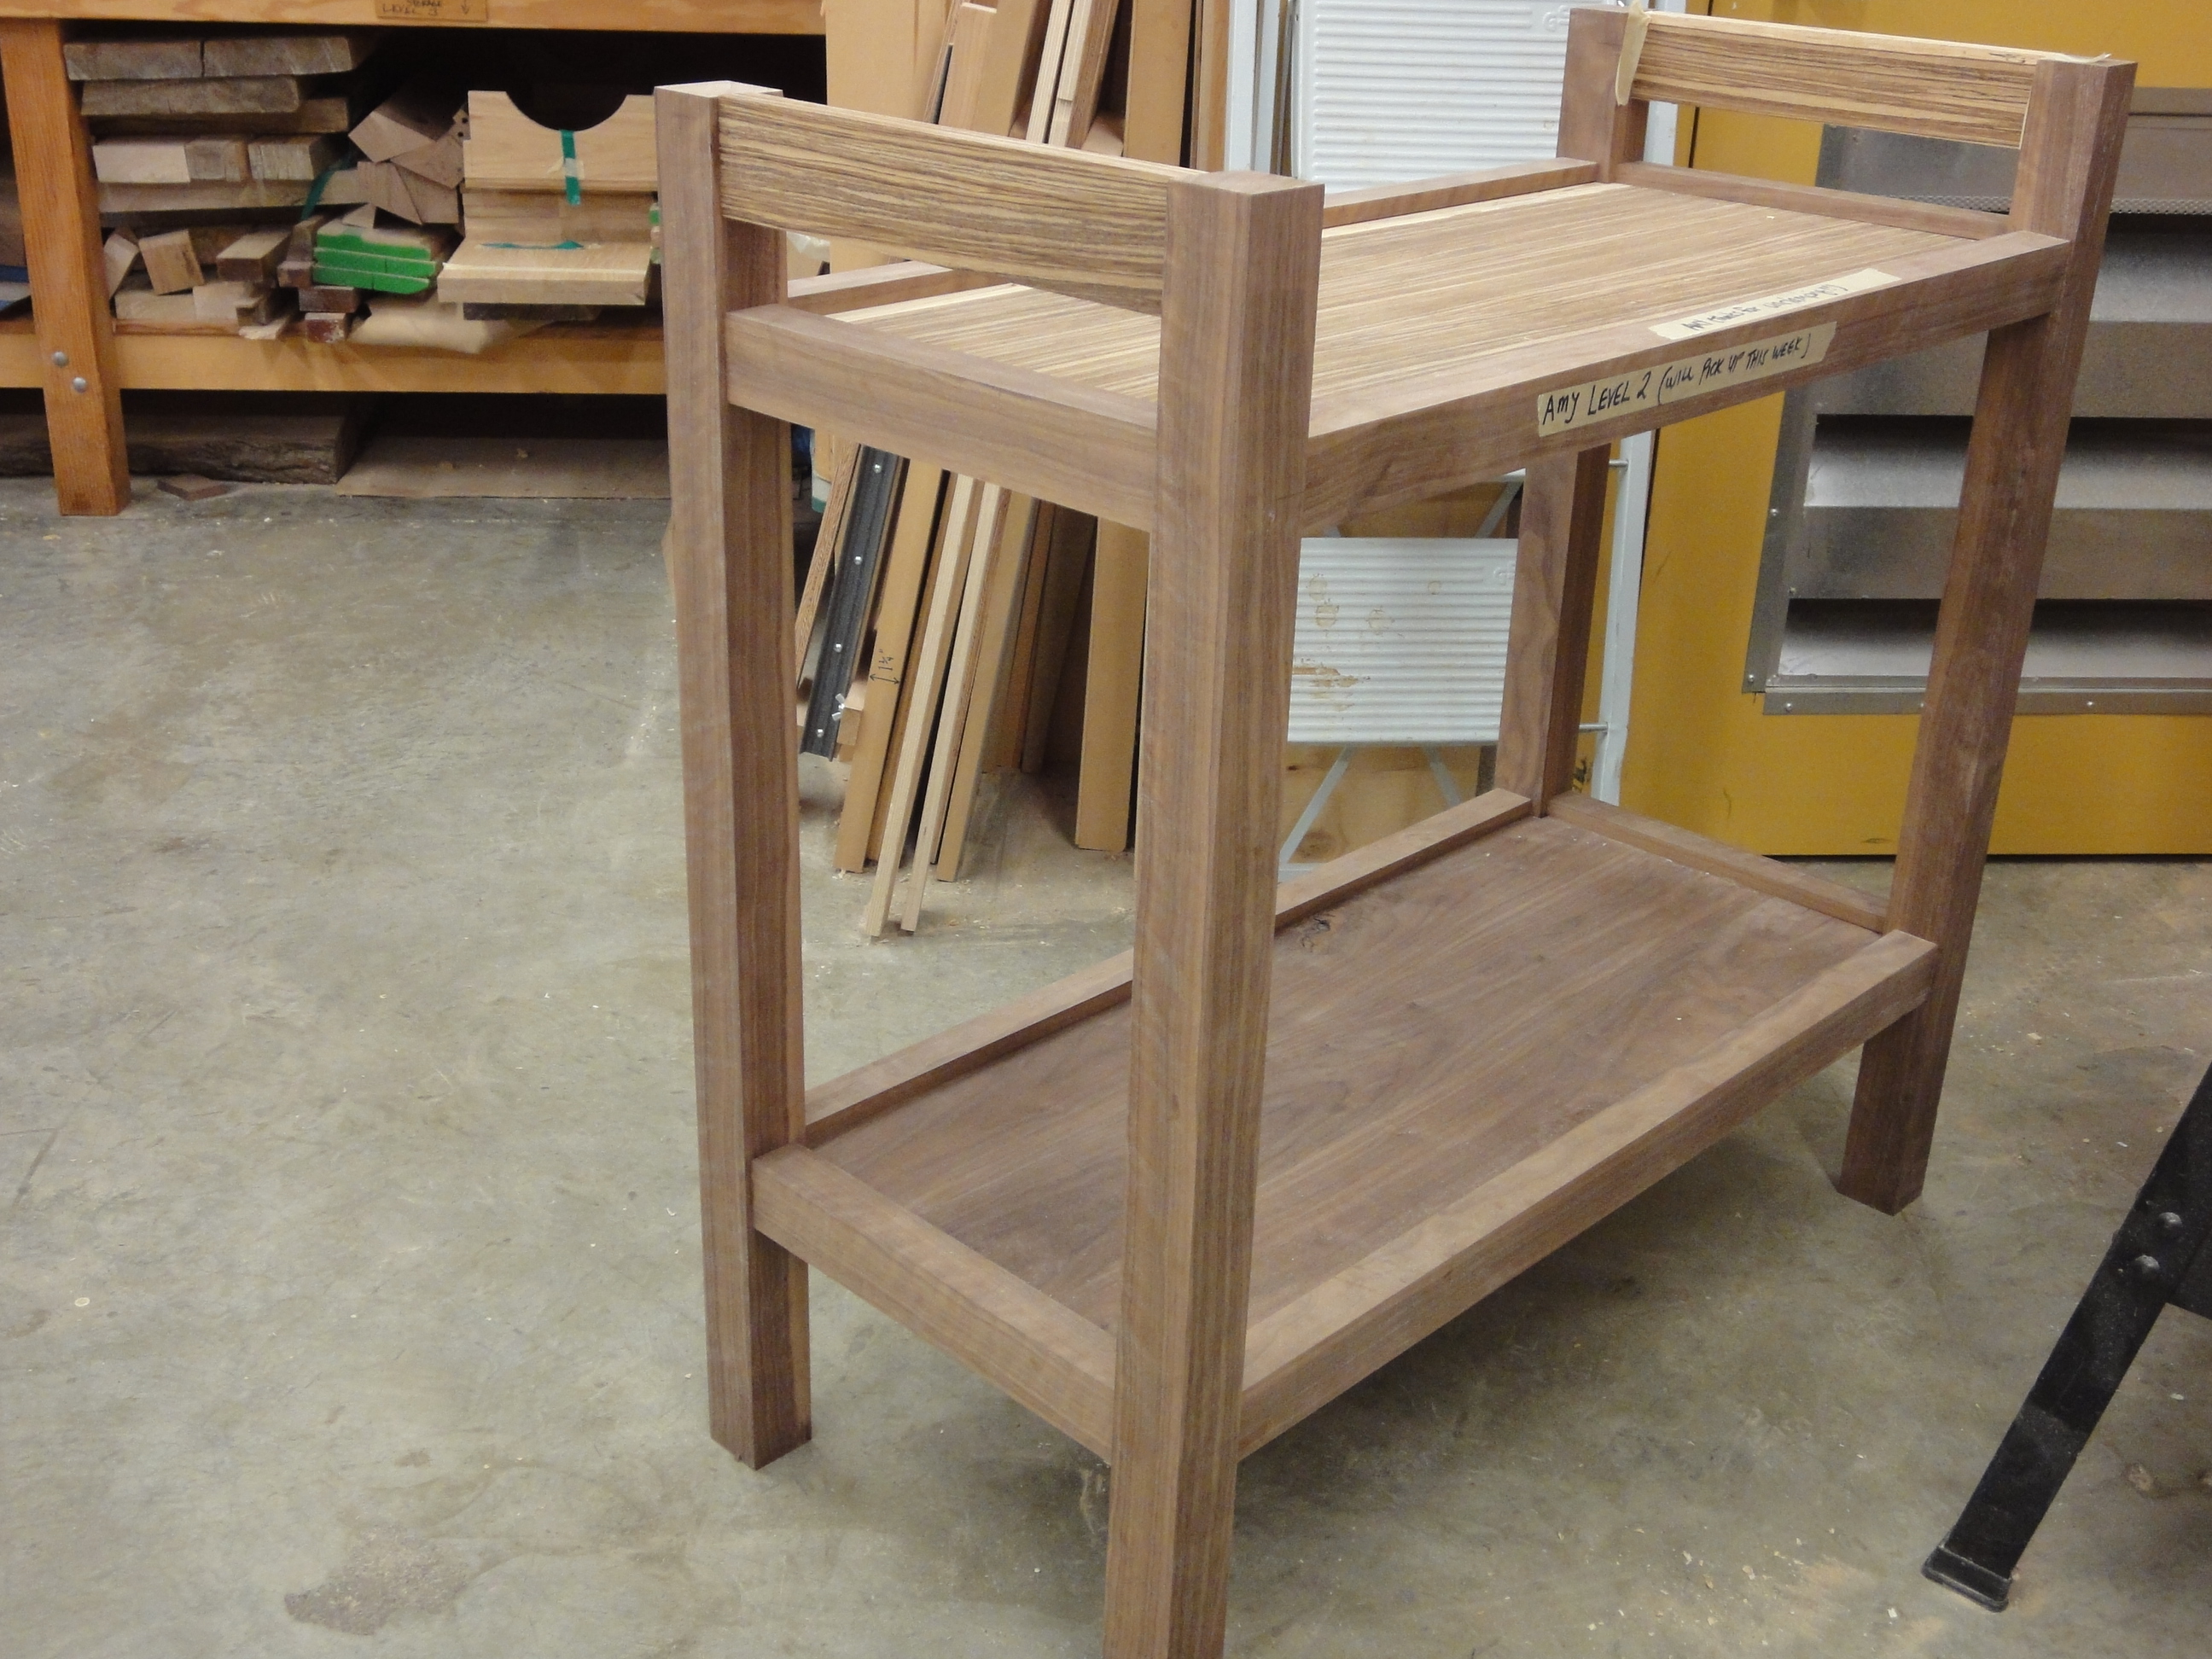
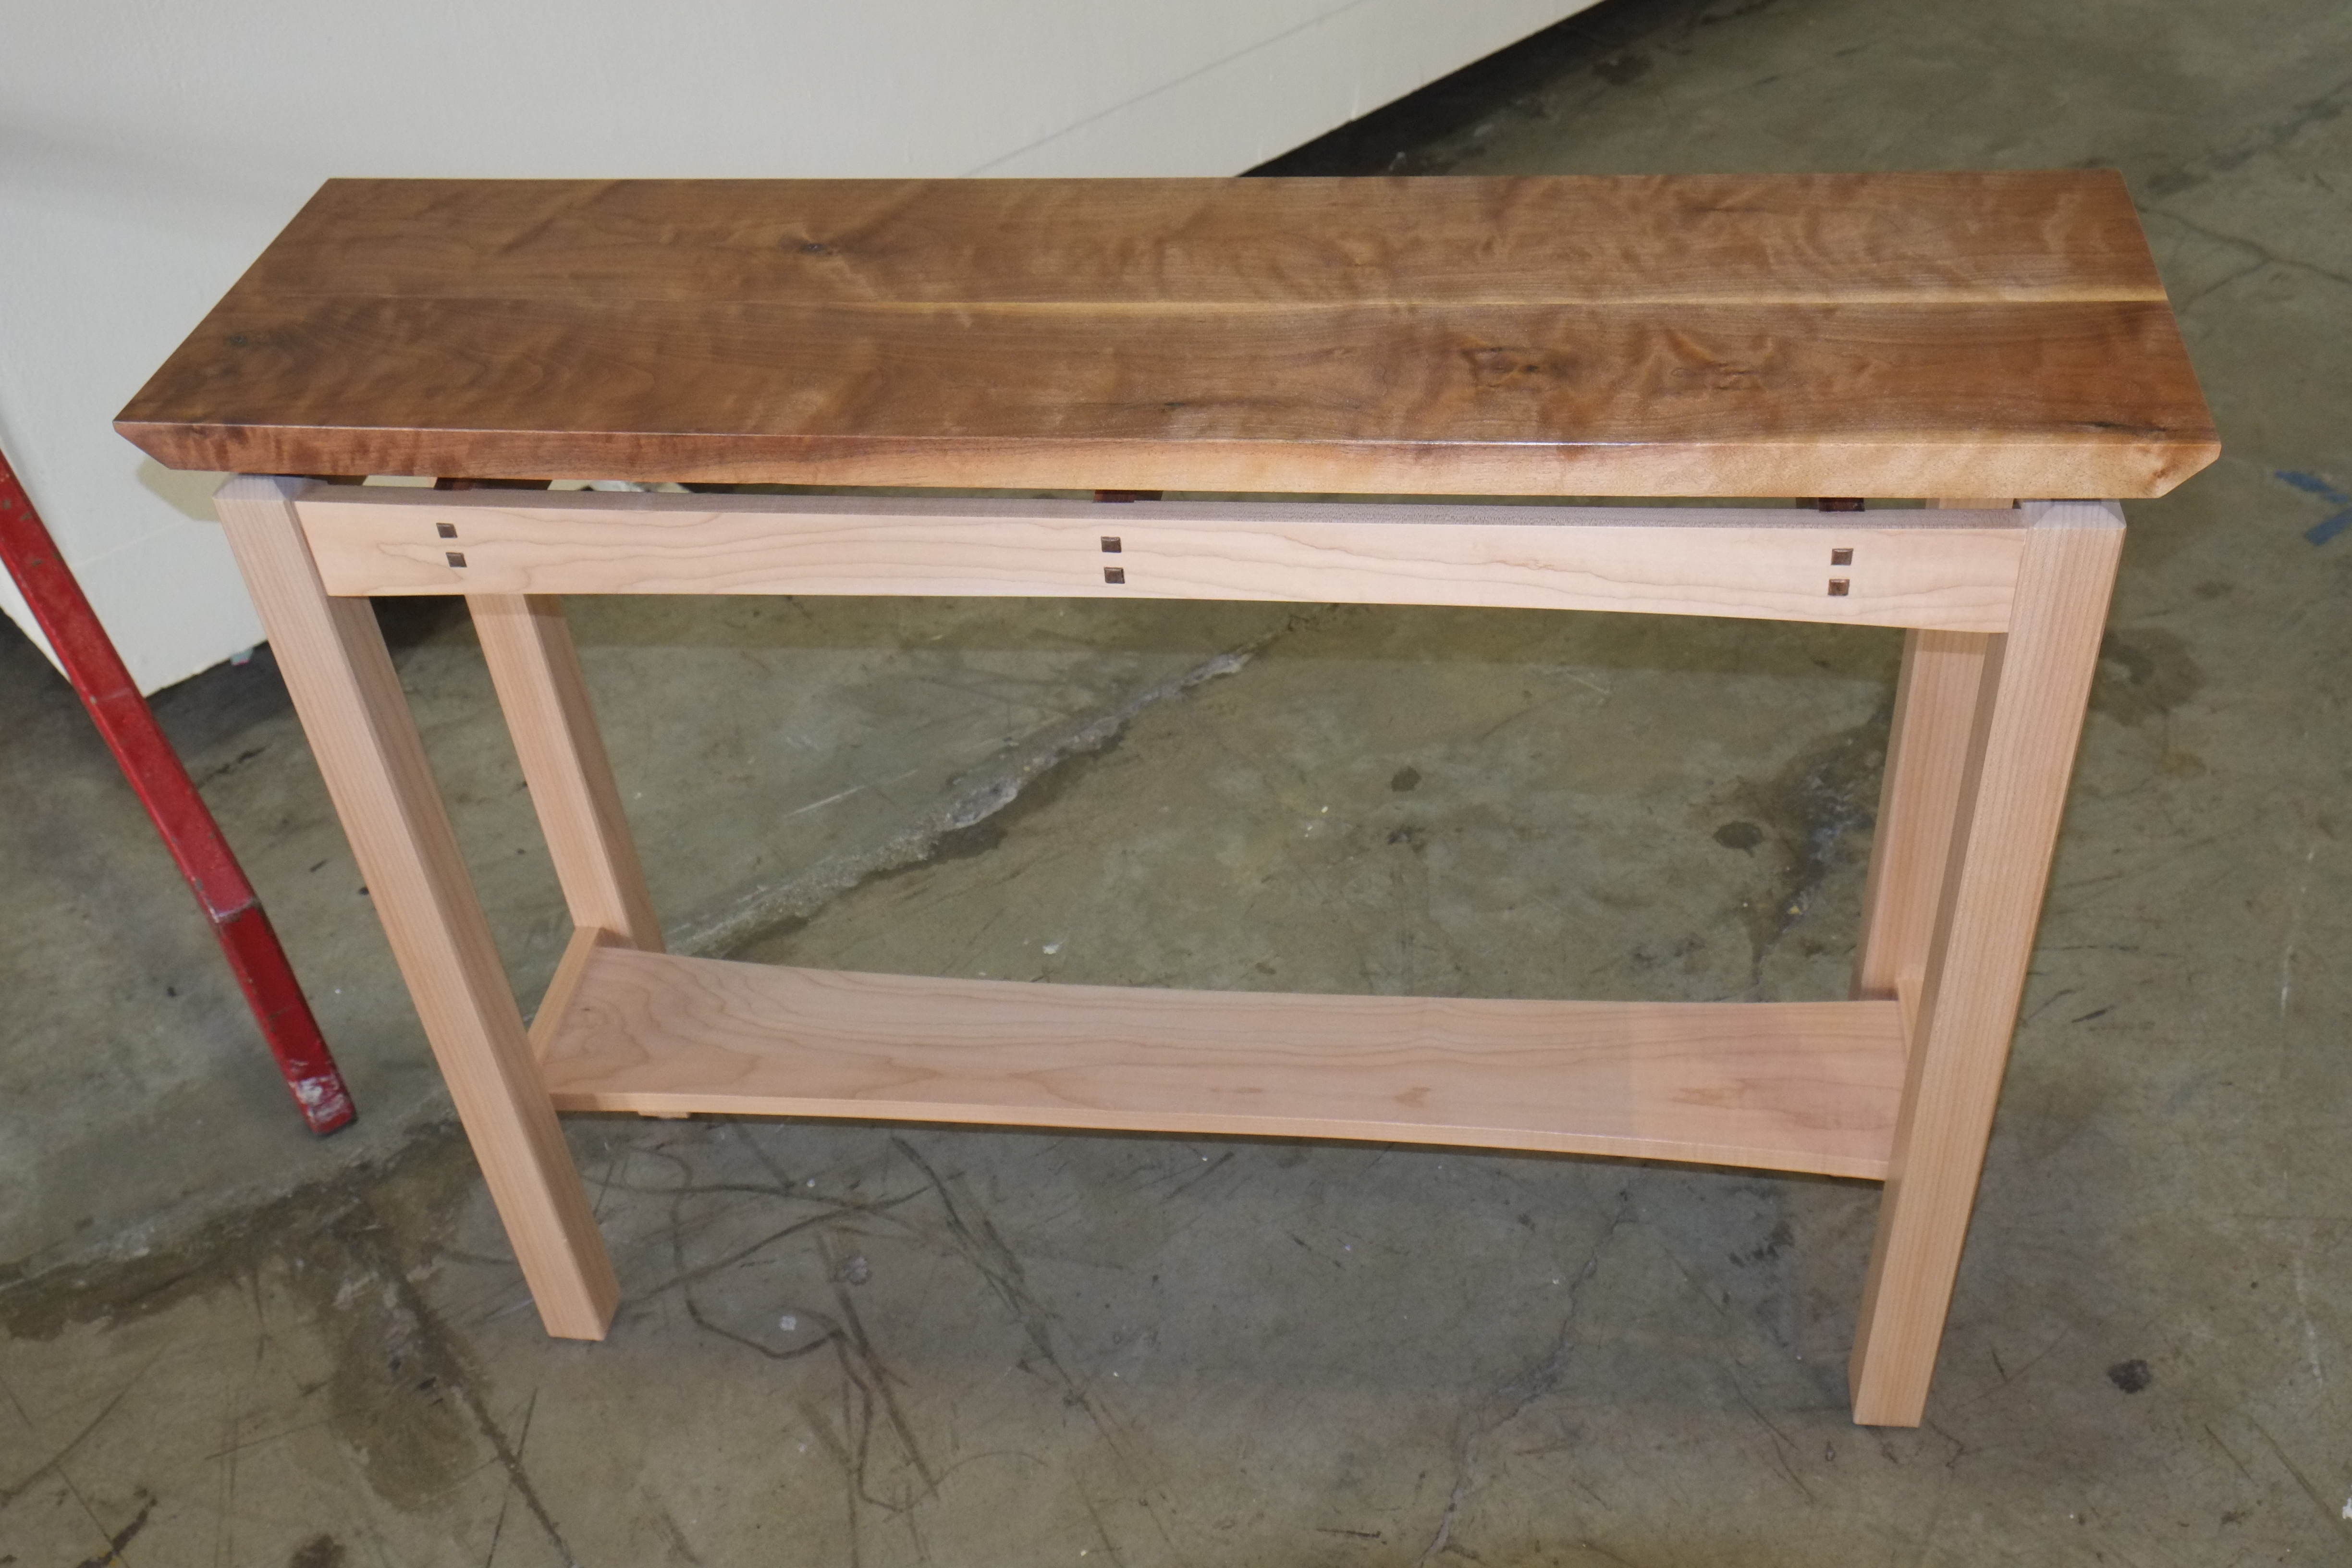
Woodworking LEVEL 2 – JOINERY FOUNDATIONS
Building on skills learned in Level 1 there is a stronger focus on classic joinery techniques, project planning and material selection. Projects must be agreed to by the instructor and will be limited in size for demands on storage. A small side or coffee table is typical. Students supply all materials and the first session covers design and choosing lumber based on species, classification and cost. Our students receive generous discounts from our suppliers while you are a registered student. Come prepared to take notes and we appreciate your help in cleaning clean up before the end of each session.
What to expect;
Our beginner courses all focus on;
- Developing an understanding of wood,
- how trees grow and how this influences the lumber we use,
- how it is milled into lumber and the lumber classifications
- the constant movement of wood that affects its dimensions in both width and thickness
- milling and dealing with internal stresses
- Project planning
- Methodologies for achieving consistency / repeatable results.
- Methods of work in using the tools – specific to whether the course is a Hand Tools or Power Tools course.
These are moderately technically demanding courses requiring people who are completely new to woodworking, to come to each class as prepared as possible. Learning support materials and tutorials are supplied in electronic format. It is important that you arrive at the first class ready to take notes/photos for future reference and to prepare for the next class by doing your own research and reading the supplied materials to become as familiar as possible with the various concepts that are new to you. While the intent is to primarily to have a fun learning experience it is true the more you put in, the more you will get from the experience.
We hope to see you soon.
Course Objectives
- Wood theory
- Gain a new understanding of wood; how wood grows, about its grain direction and density and how that impacts the material’s natural tendencies to change shape.
- Learn to expect and design for seasonal dimensional change of the material when we use it.
- Learn to identify the different characteristics that differentiate the three main lumber classifications.
- Learn the difference between solid wood and sheet goods like particle board, Medium Density Fibre board and plywood.
- Project planning
- Learn the importance of being able to visualize and plan the project.
- Draw, even the most simple drawings and doodles in order to, from a drawing, refine the design, develop a cut-list, determine the amount of material required or scale the project to fit the wood on-hand, and draw joinery to scale on graph paper.
- Milling
- Take rough lumber, cut it into the oversized components of the project and flatten it, get it to desired thickness with square and parallel edges and faces.
- Understand the roles of the major power tools – the Jointer, Planer and Table Saw.
- In this stage learn to work safely, efficiently and in the correct order.
- Learn the importance of good posture, core movement and a developed sensitivity to sound, meanings of sounds and vibration when working at machines.
- Develop habits that assist in clarifying process such as marking and designating reference edges and faces.
- Learn the importance of feed direction relative to the wood’s grain direction and assessing the results of poor choices.
- Safe practises at the table saw.
Level 2 – Duration varies typically 30 -36 hrs over 9-12 sessions
For those who have completed Basics or Level 1 and are ready for more of a challenge. It is highly suggested that you have considered a few design / project options before coming to the mandatory first session
Level 2 builds on what was covered in Level 1. Choose a supplied design or create your own subject to instructor approval. Typical projects are bookcases, coffee tables, side tables, boxes and chests.
The objectives of Level 2 are
- Joinery – add to what you learned in Level 1 considering more complex joinery and layout techniques that typically include mortise and tenon, bridle, double half cross lap and splined mitre joinery.
- Jigs and appliances – depending on your anticipated joinery requirements you may need to construct jigs to assist in cutting. drilling or assembly
- Become more familiar with lumber characteristics and classifications and apply this knowledge in your project
Please come prepared to take extensive notes, photo and or video recording to support your review. Graph paper is a great way of sketching your design to scale and drawing joinery to expanded scale. The following will be included in the first session;
- A review of basic design principles structural and aesthetic.
- Discuss the characteristics of readily available lumber covering workability, stability, cost etc.
- A review of sheet goods such as plywood
- Review of anticipated designs
- Developing a cutlist and determine the amount of lumber needed.
- You will learn how to select lumber and consider;
- suitability for the anticipated project,
- considering grain and lumber classification,
- considering capacity of jointer and planer.
- flatness, amount of material needed and
- lumber yard/warehouse etiquette